Ordering the printing of a logo on pens or USB drives seems simple until you receive an email from the printer requesting a corrected file. Below, step by step, we show how to prepare the logo so it goes straight to production, without unnecessary corrections and delays.
- Vector is key - bitmap simply won't work for engraving and embroidery, regardless of the resolution.
- CMYK or Pantone - the color seen on a screen in RGB is not the same color that will come out of the machine.
- Line thickness depends on the technique - different for UV printing, different for pad printing, and yet different for embroidery.
- Most errors repeat - texts not converted to outlines, logos downloaded from websites, too thin details.
- A checklist before sending saves time by eliminating the most common reasons for file rejection.
Why vector format matters for logo printing
A vector logo is a file where shapes are mathematically described, not as a grid of pixels. This allows it to be enlarged to banner size or reduced to a small logo on a pen, with sharp edges each time. To mark advertising gadgets, a file in CDR, AI, EPS, or PDF format with outlines preserved is required. A bitmap in JPG or PNG with a resolution of at least 300 dpi is sufficient for many full-color marking techniques, but that does not mean it works everywhere.
Take laser engraving, one of the most popular methods for marking pens like the ANI pen with engraving. The machine burns the outline along a specific path. If the logo is sent as a bitmap, the program must first automatically vectorize it, and the result can be unpredictable: jagged edges, merged letters, missing thin elements. In embroidery, the matter is even more demanding, as the project must be prepared at a 1:1 scale, and the embroidery program converts contours directly into stitches. A file with a resolution of 72 dpi is screen resolution and is completely unsuitable for computer embroidery, no matter how great it looks on a website.
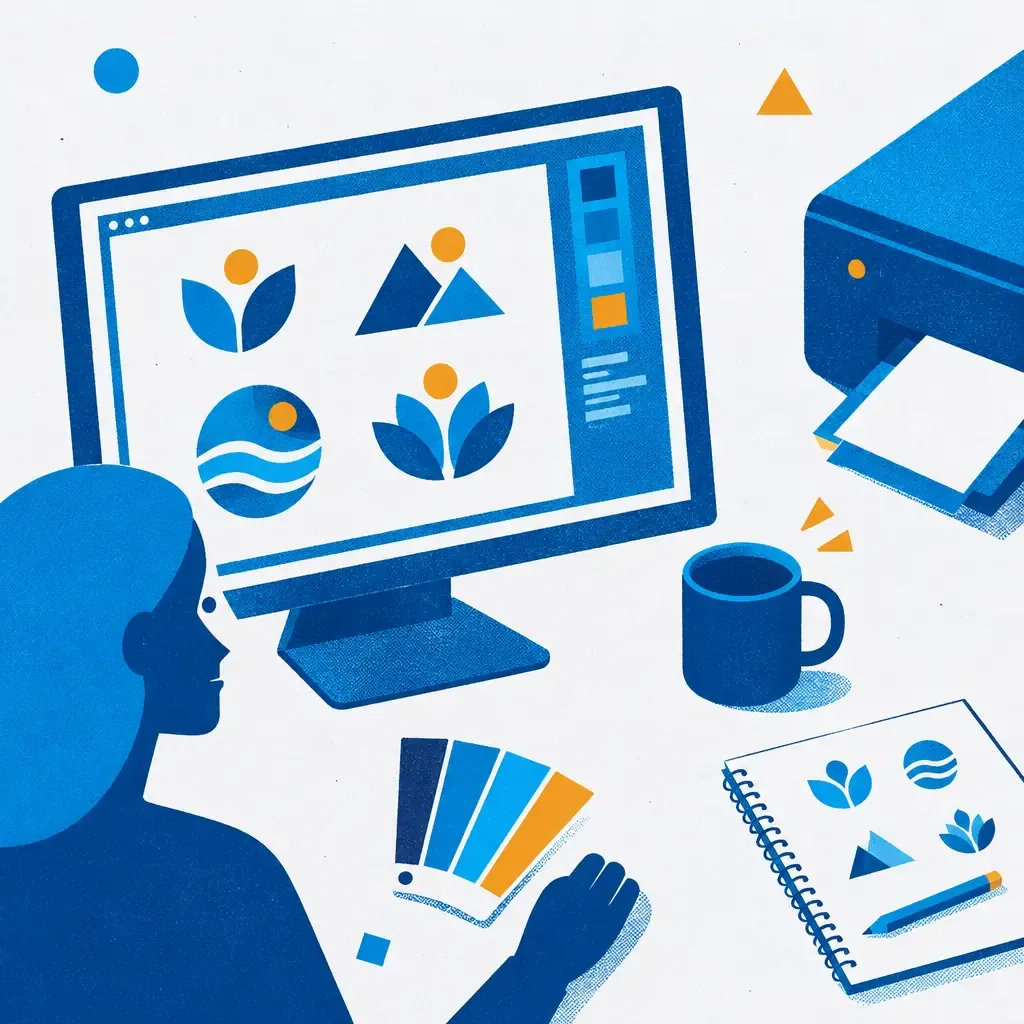
If the company does not have a vector version of the logo, but only an old graphic file from the time the brand was created, it is worth investing in its recreation. Preparing a simple logo by a graphic designer costs between 50 and 200 zł. This is a one-time expense that pays off with every subsequent order of gadgets, cards, or printed materials. Before sending the file for production, it is also advisable to go through an approval stage, as this is where issues that are not visible to the naked eye on the screen emerge. More about why this step is so crucial is discussed in our article on why file approval before printing is crucial.
Color space and conversion to CMYK or Pantone before printing
A computer screen mixes colors from light, i.e., it works in RGB color space. A printing machine mixes inks, so it operates in CMYK or, for more precise corporate colors, in Pantone colors. That is why a logo that looks intensely blue on the monitor may turn out more gray or purplish when printed. If company color is important for branding, which is almost always the case, it is advisable to provide a specific Pantone number instead of relying on the RGB conversion to come out identical every time.
Interestingly, with some marking techniques, color is not an issue at all. Laser engraving removes the surface layer of the material, so the effect depends on the contrast between the surface and the burned line, not on the color palette in the file. In embroidery, color refers to choosing a specific thread from the manufacturer’s available palette, not from the CMYK value in the graphic file. Only with UV printing and pad printing does the color scheme from the file directly affect the final effect, so conversion is most important there.
It is also worth remembering that the material of the gadget itself affects how we perceive the print color. A logo printed on white plastic looks different than the same logo on a metal casing of a USB drive or on light wood, which is increasingly appearing in eco-friendly variants of advertising gadgets. A similar dilemma surrounds the choice of material in other printing industries, for example with labels on packaging, where paper, foil, and kraft react completely differently with the same ink, as highlighted in the text about materials for jar labels. Before ordering a larger batch of gadgets in an unusual material, ask for a sample on the specific substrate, not just a print on paper.
Minimum size and readability of the logo depending on the marking technique
Each marking technique has its physical limitations that cannot be circumvented by the designer's goodwill. The minimum line thickness for a logo for printing is about 0.5 mm for UV and digital printing, 1 mm for pad printing, and 1.5 to 2 mm for embroidery. The thinner the line in the design, the greater the risk that on the finished product it will simply disappear or blend in with the background.
Pad printing allows for a maximum of four-color prints, and the actual size of the print should not exceed 7 centimeters in length. This is an important limitation if the logo has a complex graphic form with an additional slogan, as readability of the background drops drastically with such a small surface. In computer embroidery, one design can have a maximum of 6 different thread colors, which comes from the number of needles threaded in the machine, although some embroidery machines can handle even 16 colors. Nevertheless, most logos fit within three or four colors, and that is the variant that is worthwhile to prepare as a base, because the price of embroidery mainly depends on the number of stitches, not the number of thread colors.
If the logo contains small text, a thin underline, or a delicate shadow, prepare an additional simplified version: the graphic sign alone without extras. This will be useful for small marking areas, for example on a promotional USB drive or on the clip of a promotional pen, where there simply is no room for details.
It is also worth asking the printer about the reference size, i.e., what percentage of the gadget's surface the logo will realistically occupy. Sometimes, what looks proportionate in the design may be too small or, on the contrary, too dominant on the physical product.
Most common errors in graphic files reported by printers
From the perspective of someone preparing files for production, most problems repeat over and over and relate to the same few issues:
- Logo downloaded from a website - resolution 72 dpi, visible pixelation when enlarged, no chance for a sharp print.
- Texts not converted to outlines - if the printer does not have the same font installed, the program automatically substitutes the font, causing the layout to shift.
- Transparent PNG background with artifacts - remnants of the previous background are visible on the edges of the letters, which does not matter for engraving or embroidery, but does for UV printing.
- Too thin elements - details below the values described earlier, which disappear when transferred to the machine.
- Lack of information about the target color - a file in RGB without a provided Pantone code, leaving too much room for interpretation.
- Uncleaned layers and effects - shadows, gradients, or masks that look great in graphic programs but have no physical marking equivalent.
Some of these errors simply stem from a lack of experience in preparing production files, not from negligence. Someone ordering gadgets for the first time often does not realize that the logo from the company website is a completely different file than the one needed for engraving. Therefore, a good printer asks for details before accepting the order for production, rather than discovering a problem only at the execution stage.
Checklist before sending the logo file for order fulfillment
Before you click "send", it is worth going through a short checklist. Here’s what to check:
- File saved as CDR, AI, EPS, or PDF with preserved outlines, not as JPG or PNG from the internet.
- All texts converted to outlines to avoid font substitution.
- Colors described in CMYK or, if the corporate color is significant, with the specific Pantone code provided.
- Thickness of the thinnest lines adjusted to the planned marking technique: 0.5 mm for UV and digital printing, 1 mm for pad printing, 1.5 to 2 mm for embroidery.
- Logo prepared at a 1:1 scale for the intended size on the gadget, not in a random size.
- Unnecessary graphic effects removed that have no equivalent in physical marking.
- Ordered a test print for a larger batch before mass production starts.
This last point is often overlooked, which is a pity, because an test print allows verifying color and readability of the logo on real material before deciding on the entire batch. With unusual, more eco-friendly materials of gadgets, the effect can be hard to predict based solely on the graphic file, just as with choosing more environmentally friendly paper variants, which we discuss in the text about eco-friendly paper in corporate printing. If you have doubts about the selection of marking technique or the product itself, reviewing the complete offer of advertising gadgets helps assess which variant fits a specific logo and budget. It’s also worthwhile to consult the prepared file with a general guide on preparing files for printing, especially if you are ordering both gadgets and printed materials at the same time, as the technical requirements differ.
Frequently asked questions
What file format is best for printing a logo on a gadget?
The safest choice is a vector file in CDR, AI, EPS, or PDF format with preserved outlines. Such a file works for any marking technique, from engraving to embroidery, without the risk of quality loss during scaling.
Can a logo be sent in PNG format?
With some techniques, such as full-color UV printing, a bitmap with a resolution of at least 300 dpi may be sufficient. However, for laser engraving and computer embroidery, a vector file is needed because the machine works on contours, not on pixels.
How much does it cost to prepare a logo for printing if I don't have a vector version?
Preparing a simple logo by a graphic designer usually costs around 50 to 200 zł. This is a one-time cost that pays off with the first larger order of advertising gadgets.
What colors work best with embroidery?
It is worth limiting the design to 1 to 4 thread colors, even though technically most machines can handle 6 and some even 16 colors. A simpler palette shortens production time and reduces the risk of mistakes when choosing threads.
Will the printer improve my file for me?
Many printers, including promedia.pl, check the file before production and inform about technical issues, but full preparation of the logo (vectorization, color selection) usually lies with the client or the hired graphic designer.