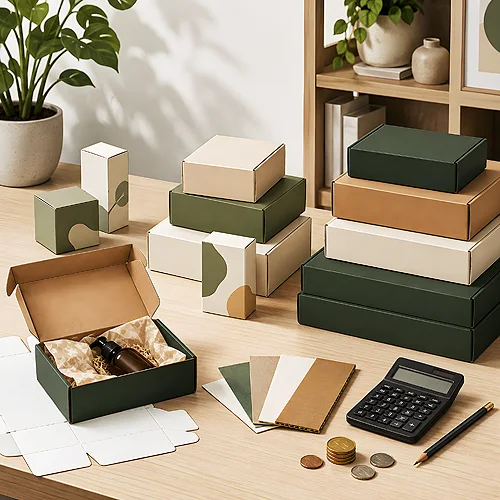
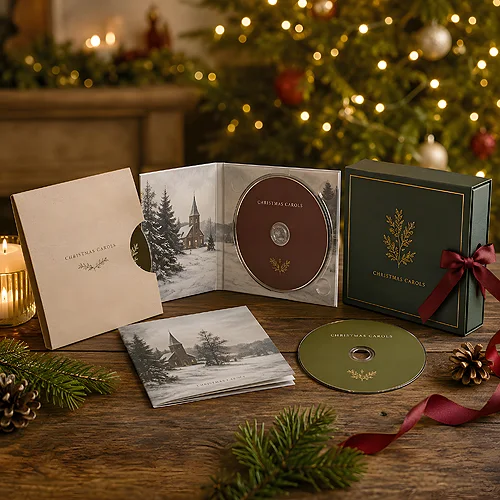
There is a moment right after opening the box when the customer holds a new product and scans for where to begin. If, at that point, they run into a folded card printed in grey fine print on both sides, their enthusiasm cools a little. If, on the other hand, they find a clear, nicely designed manual that guides them by the hand - they feel the brand thought of them right to the very end.
A user manual is often treated as a mandatory add-on, something you have to throw in because that is how it is done. And yet it is one of the first texts a customer reads after buying, and a real part of the brand experience. Prepared well, it can dispel doubts, reduce returns and build the impression of a polished product. Below we show how to design it so that it is clear, simple and attractive - and, as a bonus, coherent with the rest of the packaging.
- A manual is part of the brand experience, not a formality - the customer reads it in the first minutes after opening the box.
- Readability comes from hierarchy, numbered steps, icons and pictograms, and short, simple sentences instead of walls of text.
- Match the format to the box - a folded card, a mini-brochure or a single card, depending on how much content there is.
- Multilingual content and visual coherence with the packaging make the manual look like a considered part of the whole.
- A QR code leading to an extended version or a video takes pressure off the paper and leaves room for updates.
The manual as part of the brand experience
It is worth seeing the manual not as a paper obligation, but as another point of contact with the customer. Opening the packaging is a little ritual - first the lid, then the product, and a moment later this very card or booklet. If it is chaotic, the customer transfers that impression onto the whole product. If it is tidy and helpful, it reinforces the feeling that they chose well.
The same remark about the order of unboxing applies to the whole inside of the box. If you want to plan the moment the customer comes across the manual, our post on how the arrangement of the product in the box affects perceived value will come in handy. The manual is part of that choreography - it should not lie crumpled at the bottom, but in a visible, logical spot.
Readability: hierarchy, steps, icons
The most common manual mistake is treating it like ordinary running text. But nobody reads a manual like a novel - the customer scans it, looking for a specific answer. That is why layout matters here more than eloquence.
- Hierarchy - clear section headings, smaller subheadings, and content beneath them. The customer immediately sees where to look for the part they need.
- Numbered steps - a sequence of actions written as a 1, 2, 3 list is a hundred times more readable than the same description in a single paragraph.
- Icons and pictograms - a simple symbol explains an action faster than a sentence and works regardless of language. A battery, a plug, a drop of water - everyone understands these.
- Numbering and references - if a drawing shows numbered parts, the customer easily links an element to its description.
Short and simple language
A manual is no place for flowery sentences. Write briefly, specifically and as a command: press, hold, wait. Avoid technical jargon wherever a simpler word will do. One action per step - if a point contains three activities, it probably should be three separate steps.
Before you send the design to print, read the manual aloud while performing the described actions. The places where you hesitate or look back are exactly the ones the customer will read as unclear. Fixing them at this stage is almost free - after printing, it no longer is.
A step-by-step layout and illustrations
A wall of text is off-putting, even if it is flawless in substance. That is why it is worth turning as much content as possible into images. A simple drawing showing how to insert a cartridge or assemble a piece of furniture can replace several paragraphs of description. Illustrations have the added benefit of being universal - they work the same for a customer from any country.
A layout in which each step has its number, a short sentence and a small image next to it works well. The customer moves from one to the next as if along a path, with no risk of missing anything. If the product consists of many parts, it is worth giving an overview drawing with their names at the start - a so-called legend you refer to in later steps.
A format matched to the box
The manual should match the packaging not only visually, but also physically. A card that is too big and has to be forced to fold looks messy; one that is too small and crammed with fine print is unreadable. Match the format to the amount of content and the size of the box.
- A single card - for simple products where a few steps are enough. It sits on top, and the customer sees it at once.
- A folded card - when there is more content and you do not want to give up a large, readable font. Unfolded it gives plenty of room, folded it takes little space.
- A mini-brochure - for products requiring many sections or many languages. A stapled or glued booklet fits a full set of information in a handy format; with us that is manuals and economy brochures, and for disc packaging booklets and inserts.
Paper matters too. A manual on decent, matte paper makes a different impression than a thin, see-through sheet. If you want to choose the stock deliberately, take a look at the materials and papers section, and the technical aspects of preparing the file you will find in the file preparation guide.
Multilingual content and coherence with the packaging
If the product reaches customers speaking different languages, the manual has to account for that. There are two approaches: parallel language columns on one card, or separate sections one after another. Pictograms help twice here - they convey part of the content without words, so there is less of each language version.
Visual coherence is just as important. A manual kept in the same palette, typography and icon style as the box looks like part of a considered whole, rather than a random insert. The same logic applies to every paper element inside - the tag, the leaflet, the warranty card. When designing it, it is worth thinking of it as another page of the same story that a digipack or a case tells.
A QR code to an extended version
Paper has its limits - it will not hold a video or an extensive guide, and once printed it cannot be updated. That is why a printed manual increasingly carries what matters most and shares the rest via a QR code. The customer scans it with a phone and reaches the extended version: a longer description, an instructional video or frequently asked questions.
This solution has a double benefit. First, it takes pressure off the paper manual - only the essence stays on the card, so it is more readable. Second, you can update the content behind the code without a reprint when something changes. Just make sure the card itself is complete - the QR code is a supplement, not an excuse to skip the basics for a customer who happens not to have a phone at hand.
Where a manual makes the biggest difference
Electronics, cosmetics, self-assembly furniture, sets made of many parts - these are products where a well-thought-out manual genuinely changes the customer experience. In electronics, start-up steps and pictograms matter; in cosmetics, a simple description of use; in furniture, clear assembly drawings; in sets, a legend with part names. The common denominator is always the same: less text, more image, a clear order.
- Lay out the steps - write the whole process as a list of numbered actions, one action per step.
- Add image to word - place a pictogram or a simple drawing next to each step.
- Order the hierarchy - section headings, subheadings, content; the customer should land right where they need to be.
- Match the format - a card, a fold-out or a brochure, depending on the amount of content and the size of the box.
- Unify the style - the same colours, fonts and icons as on the packaging.
- Add a QR code - if you have an extended version or a video, point to it with a code.
A user manual is not a card to throw away, but the last sentence a brand utters at the moment the box is opened. A clear layout, simple language, good icons and a format matched to the packaging make the customer feel looked after from the very first moment. And that impression stays with them far longer than the card itself.